RCA 1223-1BSGA User's Guide Page 10
- Page / 29
- Table of contents
- BOOKMARKS
- Equipment Appr 2
- Information 2
- Display 16
- Messages 16
- Speakerphone 17
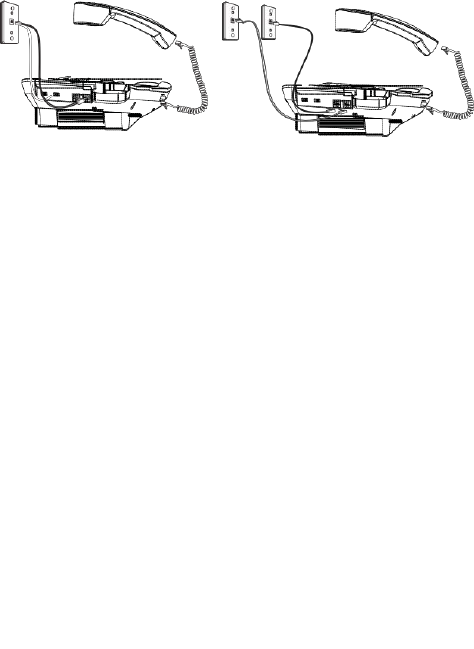
- Location 17
- Conference 20
- Assistance 26
- Printed 29
Related products and manuals for Telephones RCA 1223-1BSGA
 (2 pages)
(20 pages)
(36 pages)
(1 pages)
(2 pages)
(20 pages)
(36 pages)
(1 pages)
 (2 pages)
(36 pages)
(2 pages)
(36 pages)
 (64 pages)
(34 pages)
(88 pages)
(1 pages)
(50 pages)
(2 pages)
(2 pages)
(32 pages)
(38 pages)
(48 pages)
(64 pages)
(34 pages)
(88 pages)
(1 pages)
(50 pages)
(2 pages)
(2 pages)
(32 pages)
(38 pages)
(48 pages)
© 2020, manymanuals.com. All rights reserved. | 0.032 s |
 Manymanuals.com
 Manymanuals.de
 Manymanuals.fr
 Manymanuals.it
 Manymanuals.pl
 Manymanuals.cz
 Manymanuals.es
 Manymanuals-pt.com
Comments to this Manuals